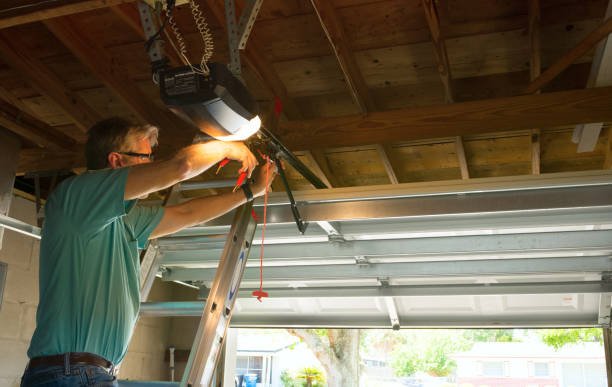
Garage doors are a significant investment in aesthetics, value, comfort, and security. Most homes and businesses rely on their garage doors to make in and out movement easier. With the widespread adoption of automatic garage doors, homeowners can now press a button within their vehicles to open and close them without hassles. However, the ease and convenience may be threatened by common garage door problems, including misaligned door sensors. Misaligned door sensors account for a decent percentage of professional garage door repairs for homes and businesses in the Chicago area. Dealing with a similar issue? This article goes over the 7 easy steps for aligning the door sensors for optimal functionality.
Important Tools For Aligning Your Garage Door Sensor
- Screwdriver
- Electricity-resistant gloves
- Level
- String
Steps For Aligning Your Garage Door Sensors
1: Disconnect The Power Supply To The Garage
Safety is the most important consideration when dealing with DIY installation, repair, or maintenance. For this task, start by disconnecting the power supply to the garage. This is recommended, especially if you don’t know the specific circuit breaker serving your garage door.
If your circuit breaker is well labeled, you can simply turn off the switch supplying power to the garage door.
Despite turning off the electrical supply (general or specific), be sure to wear your electricity-resistant gloves. Doing this will protect you from electrical shocks arising from bad wiring or other electrical malfunctions.
Expert Advice: Check the class of your electricity-resistant gloves before buying. You should aim for those rated ‘Class 00’ or ‘Class 0’ as they can withstand up to 500 volts AC.
2: Loosen The Sensors
The garage door sensors are often connected to the unit through a couple of screws. The screws are often attached to the wall or other solid structures upon which the sensors are mounted.
Get your screwdriver out and unscrew the sensor from the attached surface. Remember that unscrewing requires an anti-clockwise motion.
Please be advised that there’s no need to remove the screws all the way out. You can loosen it to reduce the sensor’s grip. This allows you to slide the mounting brackets up and down while also saving the screws from going missing.
3: Slide The Garage Door Sensor Downwards
Once the screws are loosened, slide the sensor downwards through the mounting bracket.
It is important to be careful at this stage to avoid damaging the sensor. If the sensor or mounting bracket is stuck, chances are high that you didn’t loosen the screws well enough.
Avoid employing tools like wrenches when sliding the mounting unit down, as it could damage the unit or leave marks on the sensor’s surface. These marks may tamper with the sensor’s functionality and cost you more money in replacement costs.
4: Attach Your String And Tie The Knots
Remember the string listed in the needed tools? Yes. Get it out and attach one end of it to one sensor while tying a knot to keep it in place. Once done, repeat steps 2 and 3 on the other side of the garage door and attach the string in a firm straight line across the garage door.
5: Check For Straightness Using A Level
Once the string has been run from one end of the garage door to the other, deploy your level to check the line’s linearity.
Place the level below the string and run it from one side of the string to the other. Ensure that the bubble on the level is at the center point to confirm alignment.
If the level shows alignment, proceed to step 6. If not, adjust either side of the garage door clips to get a leveled surface.
6: Tighten The Screws
Once both sides of the garage door are fully leveled, proceed to tighten the screws you loosened earlier. Ensure the tightening process is done smoothly to avoid misaligning the sensors.
Tighten both ends of the garage door so they are securely fastened in place. Apply a little effort to ensure the screws are properly held and safely to the mounting unit.
Expert Tip: You can save time and energy by approaching steps 2 to 6 with help. Your help should be at the other end of the garage door mirroring your actions. This can significantly reduce the trips taken across the garage door from one side to another.
7: Remove String, Test Your Garage Door
Remove the string from both ends of the garage door once you’re done locking the screws in place on both sides. Proceed to turn on the electrical supply to the garage door and test its functionality.
Garage door owners who prefer to have an expert handle such repairs and recalibrations like this can contact a professional for help.


